Category: Uncategorized
-
Hellcat Catch Can
11 December 2025 — This is from Grok’s info on why Dodge didn’t install a catch can on their cars from the factory. “From an engineering standpoint, every supercharged 6.2L Hemi should have left the factory with a catch can — especially the 800–1,000+ hp Redeye/Demon/Jailbreak models that make obscene amounts of blow-by. From a…
-

Selective Photo Library
Just some of the photos or links to YouTube videos featuring my photography. This is one of many timelapse photos shot on June 11, 2025. Looking northwest from my backyard. On a mobile device, you can zoom in with the pinch maneuver. The resolution is not the highest, as this is JPG file 1.14 MB…
-
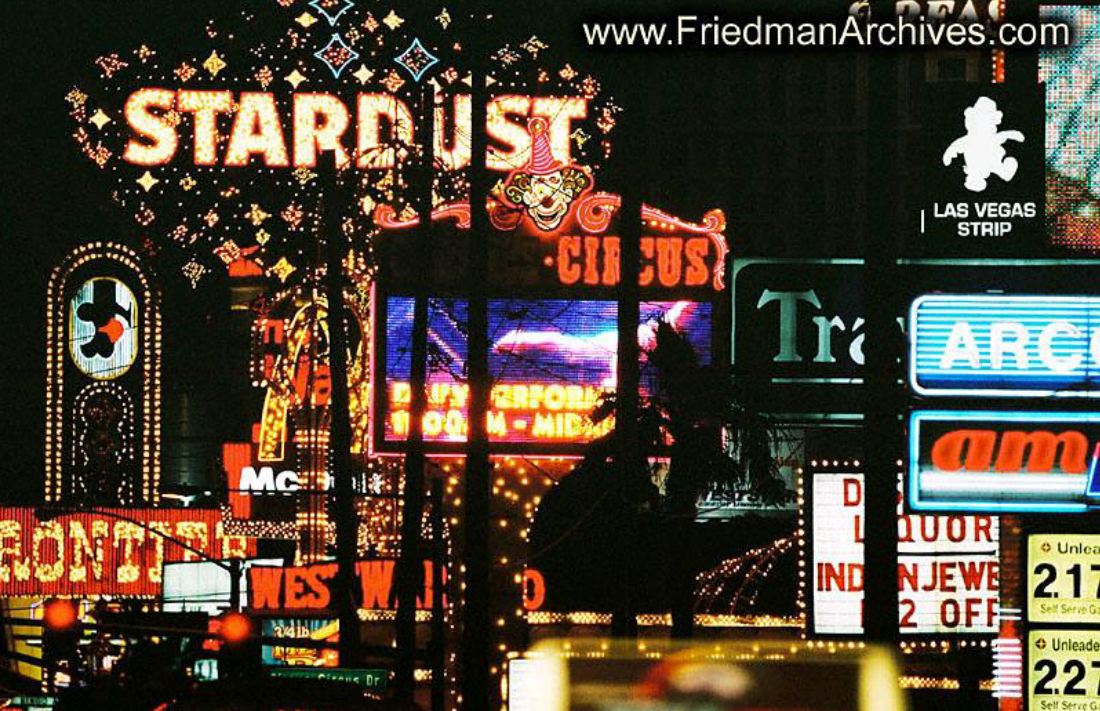
Shooting Christmas Lights
Or any other type of night time lights. Set White Balance to Incandescent (or Daylight if they’re LED lights).
-
Focus Magnification
Create a focus magnifier that is extreme. From Friedman. Focus Magnifier – for even greater focusing accuracy, the camera will show you a magnified view of any portion of your frame, allowing you to focus critically. (Peaking Setting can still work here too, but sometimes the contrast isn’t high enough to show the color.) This…
-
Histogram Explained
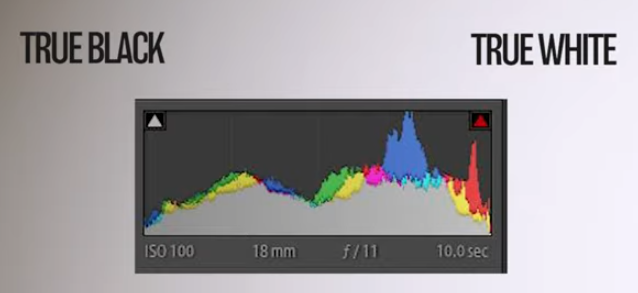
Above: True Black and True White are the ends of the spectrum, also called “clipping.” Blackout or whiteout. Either one is (obviously) not a good thing. The histogram display simply shows you where the brightness in your image “falls” within the 14-stop range. It is useful when you are shooting subjects that are predominantly white…
-
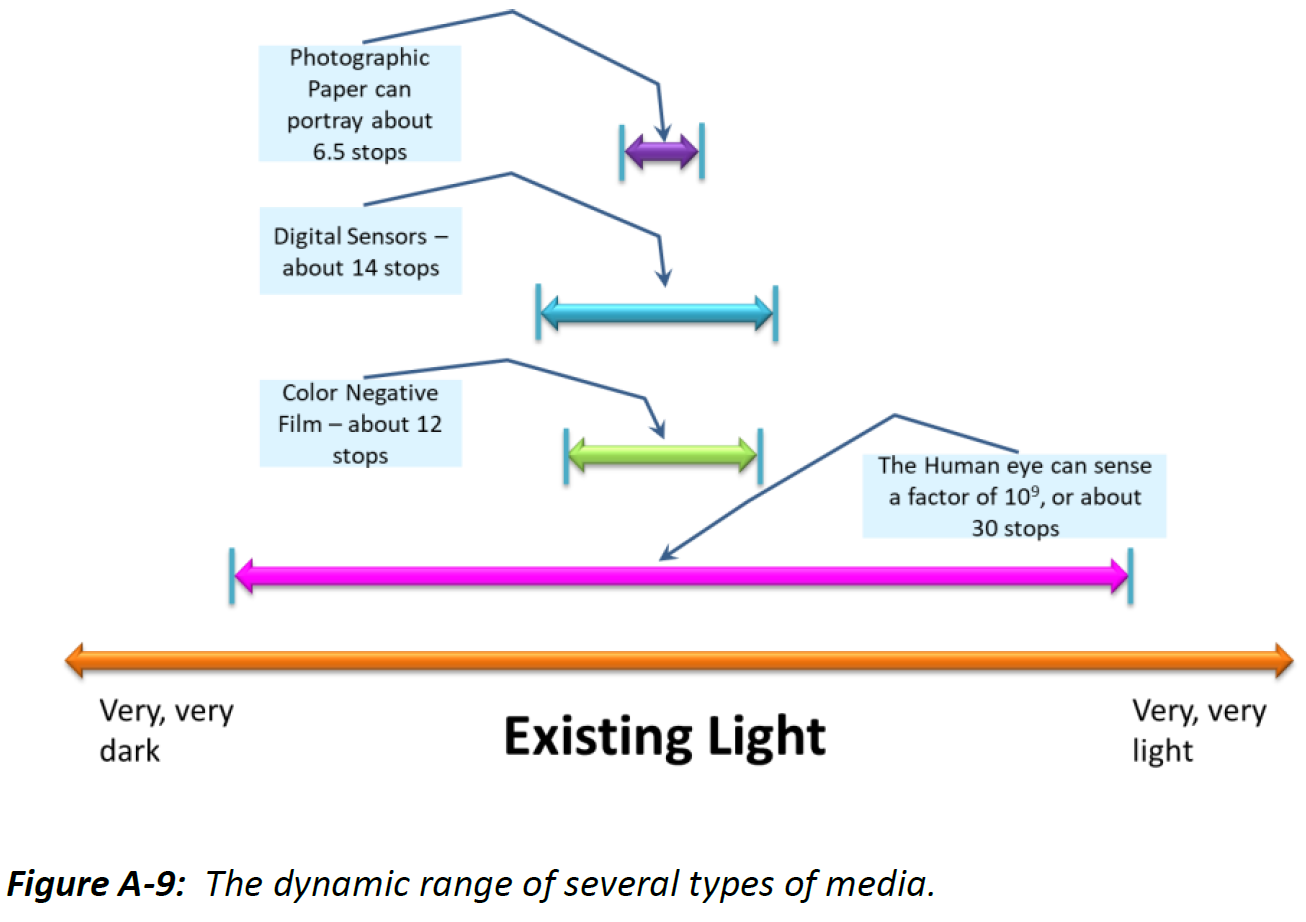
Brightness Range – What Does The Camera See?
This graphic is a good explanation of light. What is a “stop” or “f/stop?” A “stop” means “a factor of two” in light intensity. So when it says a digital sensor can sense a range of brightness of 14 stops, it means that the brightest part of the picture is no more than 214 =…
-

Moon Shots
Above, not my photo. I snagged it from American Scientific. To get good moon shots, a long lens is needed for greater magnification. 300mm is pretty darned great… but a 200mm will work quite well, as well. Here are the camera settings: Above all, practice. Take lots of photos and analyze the results, striving to…
-
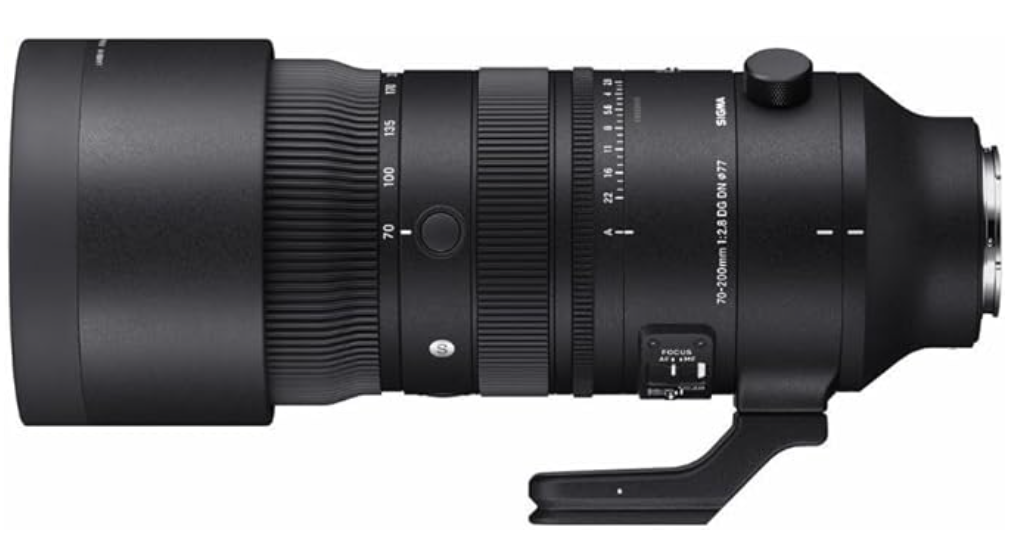
Next Sigma Lens
Current lenses: Some ideas to consider, and probably the top of the list for getting deep galaxy type shots, would be a 200 mm lens. This could be used for nature photography as well. So, to that end, a Sigma 70-200 may be the way to go. This is from the Sigma Sports lineup. Below…
-

Landscape Photo Rules
When you shoot a landscape photo, you’ll probably want everything in focus. As a rule, to get everything in focus, you wangt to use a smaller f/stop, a low ISO, and a good tripod. Here are the particulars: That’s pretty much it. Shoot away.
-
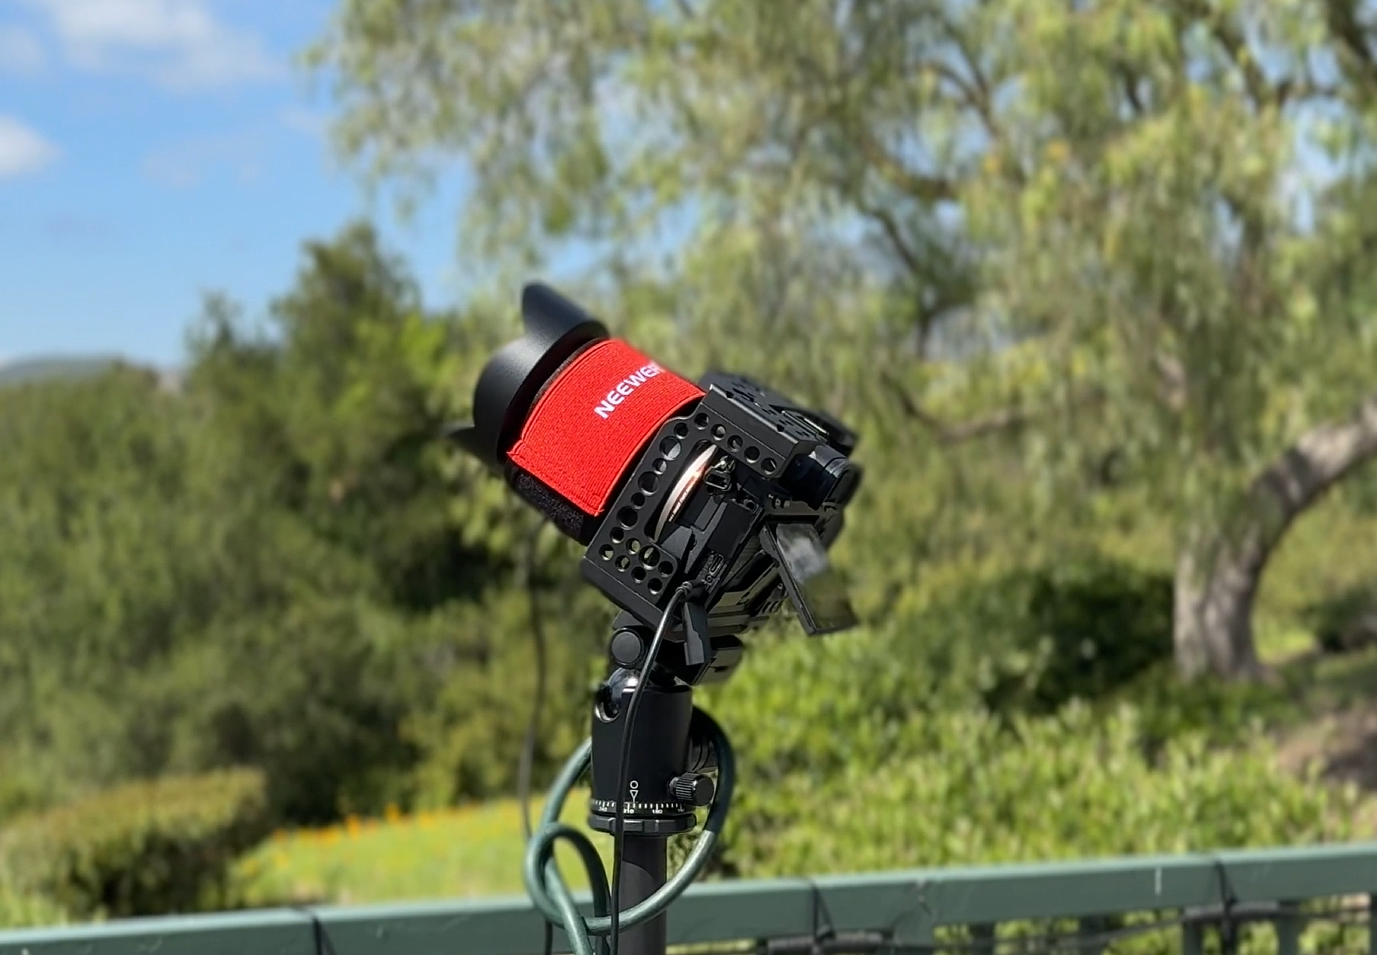
Today’s Timelapse Shoot
The camera is set up in the back, looking out over the valley below. Sunset is about 8 p.m. and I’ll let the camera run until 10 p.m. I’ll get a few thousand shots, transfer them to a computer folder, then open that folder with DaVinci Resolve’s incredible editor. In Resolve’s Media Editor page, you…